

For this project, all you are going to need is some fabric scissors, glue (I used a hot glue gun because it dries quicker, but you can use fabric glue as well), a glue gun (if you choose this method of course), and the fabric you want to make your bow with. For the fabric I found out it would have been a simpler project if the material was on the front and the back, but since it was scraps of a shirt I needed to use two strips of fabric. I personally think it is better to start off with more than you think you will actually need, in case something goes wrong or you are indecisive on the size you want because this extra material leaves wiggle room.

Because I was using the bottom of a t-shirt, I cut off the cross stitched pattern that is sometimes sewn on shirts and did this step for both strips of fabric. I then laid the two pieces of fabric on one another so they overlapped, having the patten facing outwards on both pieces. I then cut my fabric to the length I wanted my bow to be, (if you wish to be technical you can use measuring tape, etc but I like to live life on the edge).


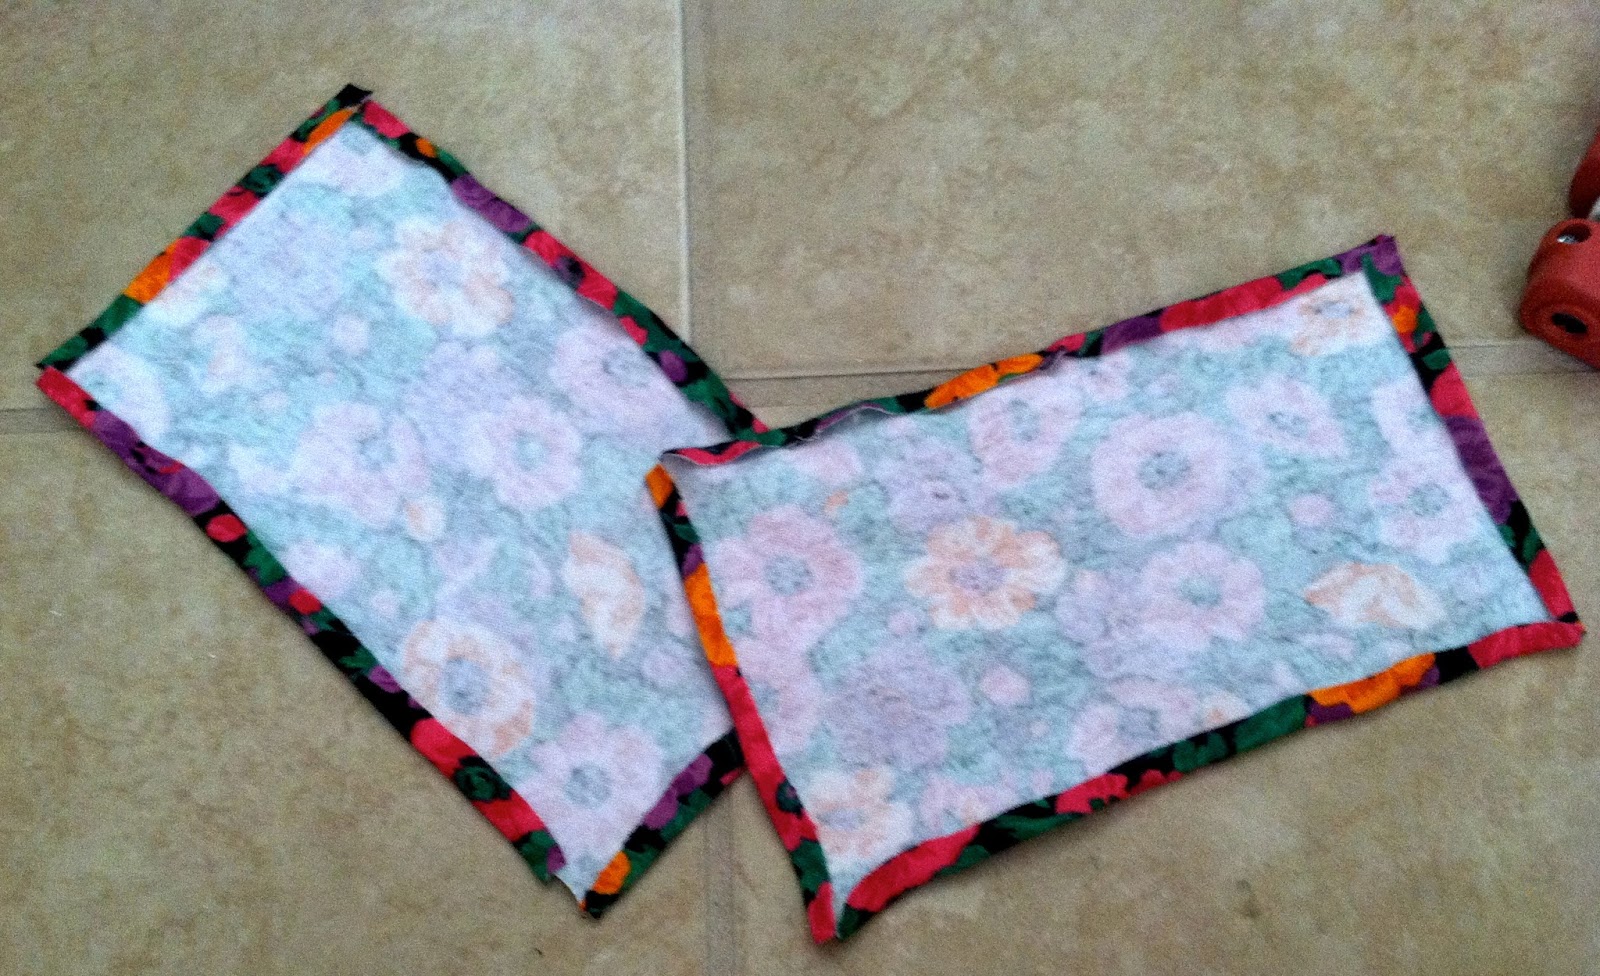
This next step is only if you have two strips of fabric like I do, but I cut four small squares in each of the corners, this was when I was gluing you did not have to worry about overlapping. Once this step was done I had my hot glue gun ready and glued along the edges, folding them over and pressing it down very gently, letting it begin to cool down and dry (you want to be careful about not burning your fingers on the gun or the glue, I know I had a couple ouch moments). When this is finished the patterned side should look clean cut and evenly shaped on all sides.


With both of the pieces of fabric I then overlapped them again, like I had earlier, so that the patterned sides were facing out from one another. It was then time to glue both sides together. I Chose to put the glue all over the fabric, but just be careful to smooth out the glue and to make sure that the outer edges have been glazed in glue, this way even if the inside has some air pockets the edges will not budge later on in the bow's life.


I then pleated the middle of the fabric in order to give the bow its shape. When you are doing this, make sure you fold the first and the last pleat the same direction so that the outer edges can be hidden on the back of the bow. I then hot glued the folds together to keep the bows shape. I took my excess fabric and cut of a tiny strip to glue onto the middle of the bow, and with that my project was complete.


I am really happy with the way it turned out! Right now I am just using bobby pins to hold it in my hair, but some may prefer to glue on a clip. Having such a crazy pattern it allows me to bring a plain outfit some pizazz or can be worn with the shirt I had made to allow both pieces to match. I am very proud of myself for making this all on my own and hope I will continue with my crafty experiments, because so far they have been surprisingly fun.

No comments:
Post a Comment